
Have you ever been out on the ice and wished you had a lightweight, convenient power source? Perhaps it would help you power a fishfinder or a small, portable heater to keep your shelter warm.
Did you know that you could build your own universal power box? All you need is a battery, some sort of box to hold it, and a little bit of knowledge in electrical wiring.
In this article, we’ll explain the process step by step.
Contents
- How to Make a Power Box for Ice Fishing?
- Materials Needed
- Step 1: Make Your Battery Connections
- Step 2: Create Your Ground Post
- Step 3: Attach the Fuse Block
- Step 4: Drill Holes for Your Switches and Accessories
- Step 5: Connect the Master Switch
- Step 6: Connect the Accessories to the Fuse Block
- Step 7: Repeat the Process for Each Accessory
- Step 8: Create Charging Posts
- Step 9: Secure Everything
- Step 10: Time to Hit the Ice
How to Make a Power Box for Ice Fishing?
First off, it’s worth noting that there are many different ways to make a power box. The types of connections you could add and the ports/switches you use may vary depending on what you have available.
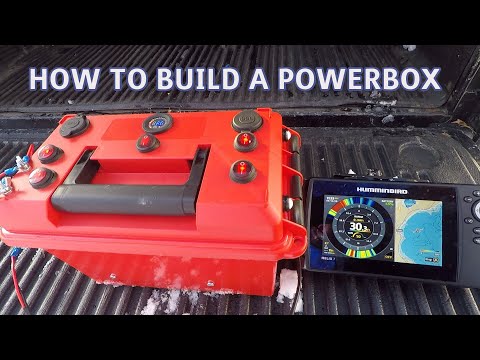
For the purpose of this article, we’ll discuss how to make a power box according to this video:
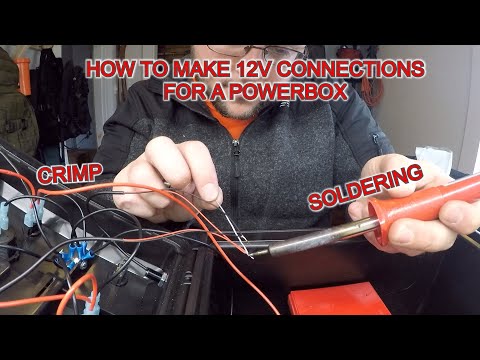
This particular build involves a lot of wiring, soldering, and splicing connections; in other words, you’re making a lot of connections from scratch. To learn how to create the connections used in building this power box, check out this video:
Materials Needed
Again, there are lots of options when making your power box. You may need different materials depending on what type of connectors you want your power box to have.
For example, you could add extra USB ports, LED lights, or completely different power ports not covered in this article.
This particular box, built in the video above, comes with LED lights, a USB port, a 12V auxiliary socket (cigarette lighter type), a voltmeter, and a couple of charging posts.
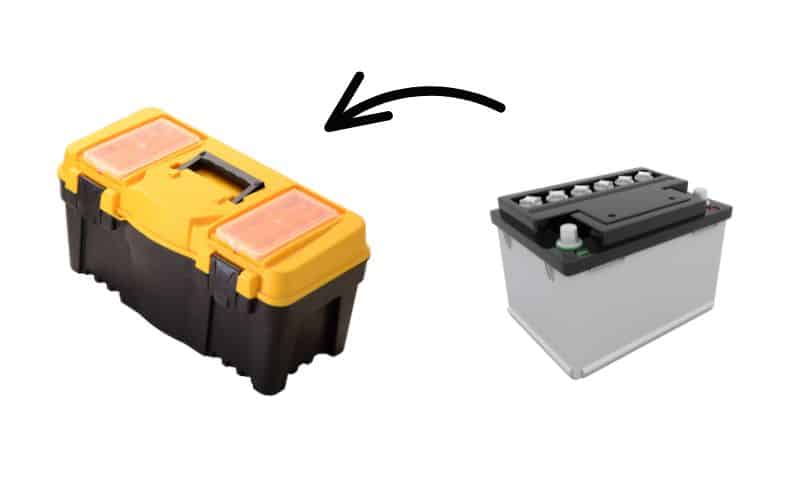
To build this box, you will need the following materials:
- Plastic box –battery box, concealed carry case, etc.
- 12V fuse block
- LED lights
- USB port
- 12V auxiliary socket
- 12V voltmeter
- 12V 16 gauge wires (red and black)
- 12V switches
- 12V female terminal connector
- Piggyback connectors
- #10 bolts
- Crimping tool
Links to purchase each of these items are included in the description of the video above.
Step 1: Make Your Battery Connections
Place a 12V battery inside your box.

Solder piggyback connectors onto one red and one black wire: red for positive, black for negative.
Place these wires near the positive and negative terminals on the battery, but don’t connect them yet. If you do, the battery will supply power to anything the other ends of the wires touch, increasing the risk of shocking yourself or creating sparks.
Place a battery charger in the box. Attach the charging cables to the battery’s piggyback connectors so you can charge the battery as necessary.
Step 2: Create Your Ground Post
Use one #10 machine screw bolt for the ground post.
Drill a hole for the bolt in a convenient spot on your box–the best place will probably be on the underside of the lid somewhere. Screw the bolt into the hole, slip on a washer, and tighten things down with a nut.
This will be the ground for all of your connections, starting with the battery itself. Attach a ring terminal onto the loose end of your battery’s negative wire and slip it onto the ground post.
Step 3: Attach the Fuse Block
 If you have a lot of different ports and switches, like this box does, you probably won’t want all of them going directly to the battery. This is where the fuse block comes in.
You can have power going from the battery to the fuse block, and then the fuse block will have wires running to the rest of the accessories.
Secure the fuse block inside your box; the underside of the lid is the most convenient spot. You will likely need to secure it with a couple of nuts and bolts.
The block should be in a convenient spot for easy connection with the rest of the ports, switches, and accessories.
Step 4: Drill Holes for Your Switches and Accessories
Using a hole saw, create holes for each switch and port you plan to mount. The holes will probably need to be different sizes depending on the size of each switch and accessory. Put them in the lid of your box for easy access.
Snap or screw the switches, voltmeter, USB, and auxiliary ports into the appropriate holes as shown in the video above.
Drill holes for the small LED lights in the side of the lid, slip them through and secure them with nuts.
You are now ready to connect everything to the fuse block and ground post.
Step 5: Connect the Master Switch

Taking the loose end of the positive wire from your battery, connect it to the power-in terminal on your master switch.
Create a three-way splitter, as shown in the videos above. Use a ring terminal and a positive wire to connect the master switch to the fuse block.
Depending on the type of fuse block you’re using, you may or may not have to connect it to the ground post.
Connect the other two splitter connections to the power-out terminal on the master switch and the positive terminal on the voltmeter.
Connect the master switch to the ground post using a ring terminal on the end of a negative wire. Repeat this same process for grounding the voltmeter.
Once you have two or three ring terminals on the ground post, secure them with a nut before adding any more.
All of this is shown in the power box video above; it is a great tutorial if you’re having trouble visualizing the process from our written instructions.
Step 6: Connect the Accessories to the Fuse Block
Use a positive wire with connectors soldered onto the ends to create connections from the fuse block to the power-in terminal on each switch. Connect the positive line of each accessory to the power-out terminal of each switch.
The switch will act as a sort of “manual circuit breaker” when it is turned off. Power will still be flowing from the fuse block, but it will go no farther than the switch. When the switch is turned on, power will flow out to the accessory, completing the flow of power from the fuse block.
Connect the negative line of each accessory to the ground post, securing groups of 2 or 3 with a nut.
After connecting each accessory, check the switches to make sure there is power going to them and ensure everything is working properly.
Step 7: Repeat the Process for Each Accessory
You will use this same basic process to connect the LED lights, the USB port, and the auxiliary port.

Use a positive wire to connect the fuse block to the power-in terminal; the positive line from each accessory to the power-out terminal on the appropriate switch; and the negative line from each accessory to the ground post.
Using this setup, power should flow seamlessly from the fuse block to each switch and from the switch to the appropriate accessory.
For a more specific visual process, refer to the power box video above.
Step 8: Create Charging Posts
Use #10 bolts to create positive and negative charging posts.

Drill holes into the box lid; screw the bolts into the holes from the underside of the lid so they stick through to the top side.
Attach a positive line to one bolt via a ring terminal, securing it with a nut and washer. Repeat with a second bolt, only this time, use a negative line.
Tighten down both posts with nuts on the top side. Connect a positive wire from the fuse block to the power-in terminal on the switch used to control the charging ports; connect a power-out wire to the charging posts; then connect them to the fuse block and ground post as well, as shown in the video.
Step 9: Secure Everything
Secure all of the ring terminals on the ground post with a wingnut , screwing it on securely but being careful not to make it too tight.


Check to make sure everything is wired properly and all connections are secure.
Finally, connect the battery cables: red to the positive terminal, black to the negative one.
Turn on the master switch, check the other switches and accessories to make sure they all work properly.
Step 10: Time to Hit the Ice


Your power box is now ready to use.
You can take it out to the ice to power your fishfinders, lights, portable heaters, stoves, etc. Plug your phone into the USB or auxiliary port so you never have to worry about your phone dying and leaving you without a way to call for help if necessary.
Connect the battery to the charger when you’re not using it so it’s ready to go the next time you hit the ice.
A power box is perhaps not the most essential piece of gear in your ice fishing arsenal, but it will certainly make your life easier and provide you with a portable source of easy power.