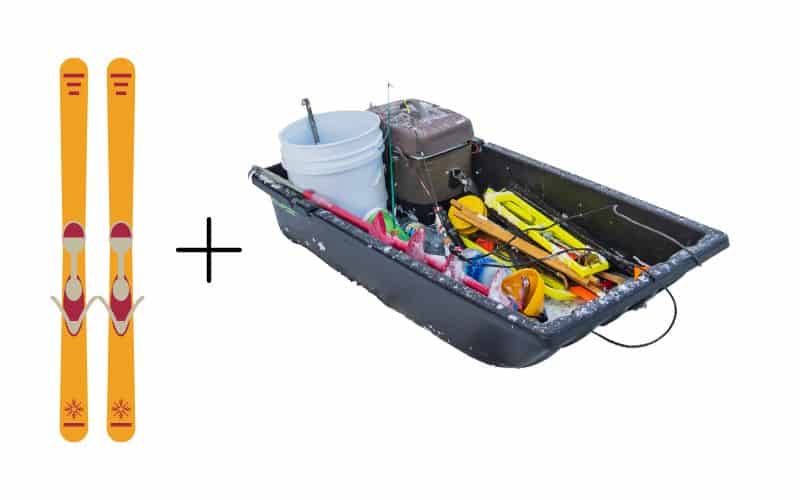

The serious ice fisher knows his sport takes a lot of gear to maximize the catch, and that gear doesn’t haul itself onto the ice. A sled like the Otter sport sled is a good choice for pulling your gear.
But all that gear can get heavy. Who wants to use all their energy pulling a loaded sled that drags or gets stuck in deep snow when going ice fishing?
The solution is to get the sled up out of the snow. And the easiest way to do that is to convert it to a Smitty Sled by adding skis that raise it and get it gliding through the snow. Read on to find a step-by-step guide on converting your sled to a homemade Smitty Sled by adding skis.
Contents
Why You Should Add Skis To Your Ice Fishing Sled?
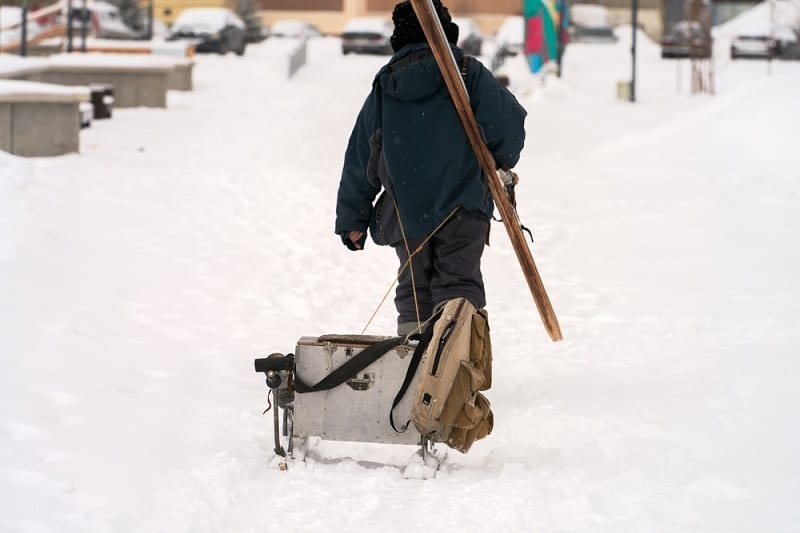
If you ice fish, odds are you grew up in a place where you went sledding as a kid. Do you remember those days when you started down the hill only to have your sled stop in the deep fresh snow? Well, that scenario can take place when you’re ice fishing.
Pulling a well-loaded sled through deep snow is exhausting, no matter how well it’s packed. Converting your sled to a Smitty sled by adding skis gets it up out of the snow, reducing friction.
The skis also distribute the weight, making your sled glide and easy to pull. The best benefit? More time and energy for fishing.
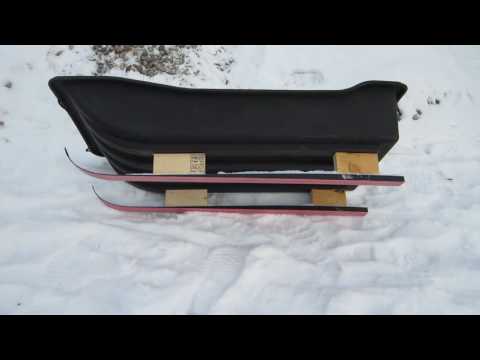
What Is A Smitty Sled?

Smitty Sleds aren’t new to ice fishing, but they have grown in popularity in recent years. In its simplest form, a Smitty Sled is a plastic ice fishing sled with some type of skis attached to the bottom.
Properly attached, the skis raise the sled above the snow, diminishing drag and distributing the sled’s weight to add stability while pulling. This results in a well-balanced sled that glides effortlessly through the snow and isn’t likely to flip.
How To Add Skis To Your Ice Fishing Sled?

Making a Smitty Sled doesn’t have to be expensive; since you’re thinking about adding skis to your ice fishing sled, I’m guessing you already have a sled, Which is one of the pricier components.
Many outdoors enthusiasts already have two by fours, various screws, or old skis out in the garage or shed. Let’s take a look at what you’ll need.
Tools You’ll Need
- Power saw or hand saw
- Electric drill, plus different bits
- Cordless screw gun or screwdriver
- Tape measure
- Carpenters pencil or a marker
- Wood chisel
- Hammer
Materials
- An ice fishing sled like the Otter Sport Sled , the size depends on how much you have to haul
- Downhill or cross country skis
- Four 20-inch pieces of two by six
- One two by four, a six-foot stud is sufficient
- 24 3-inch deck screws
- Twenty-five feet of rope
- 20-inch piece of PVC pipe 1-½ inch
- Four 3-inch stove bolts and wing nuts
- Two eye bolts
- Ski Wax (optional)
Choosing Materials
If you already have all the materials in the house, you’re ready to head to the garage and start building. But if you need to buy the materials, consider the following:
Sleds – Sled size is determined by how much gear you have to haul. If you’re new to ice fishing, buying a sled that’s roomy enough for the gear you buy in the future is a good idea. Look for sleds with a flat bottom because they are easier to attach to the skis.

Skis – Downhill skis are wider than cross country skis, so they’re a better choice. Garage sales and thrift shops are cheap places to find them. Choose a ski 20-30 inches longer than your sled. Kids’ skis are shorter and a good place to start looking.

It’s best to look until you find the length you need. Cutting the skis isn’t suggested since cutting longer skis to size can make their laminated body fray and cause problems.
Wood – If you don’t already have the lumber, it’s a good idea to pay a little extra for treated lumber because of wet conditions.
Though not included in the materials list because it’s optional, using oil-based paint or sealer like Thompson Waterseal on the wood parts is a good idea.
Step One
If there are still bindings on the skis, it’s time to remove them.
Step Two
Sled widths vary, and the width of your skis will be based on the width of the sled. Measure the width of your sled and cut the two two-by-four cross members four inches longer than your sled is wide.
If you’re building a taller sled, making it an additional four inches wider will increase stability when being pulled. But don’t forget, it has to fit in the vehicle that will haul it.
Step Three
We’re using two-by-six lumber for the risers to give us a little extra ground clearance. Cut four 12-inch pieces of two-by-six. Then notch the center of each to receive the two cross members.
Two-by-fours are only 1-1/2 thick by 3-3/4 wide; The notch should be one and a half inches deep. On the edge of each riser, measure in towards the center eight and three-quarter inches and mark the board on the one and half inch edge.
On the two-by-six risers, mark a center point of six inches. Then measure 1-¾ inches to each side of the center point to mark where you’ll notch the risers to attach the cross members.
Cut the notches with a jigsaw or, using a hand saw, cut down 1-½ inches on each mark, then make a diagonal cut from the top of one side of the notch to the bottom of the opposite side. Repeat the process on the other side, and remove the remaining v-shaped piece with a wood chisel. Sand the notch smooth.
Step Four
It’s time to attach the risers. Your sled should carry more weight towards the back of the skis to help keep the tips up and clear more snow.
Place your skis on the ground, making sure the distance between the skis is exactly the same and the ski tips and backs align perfectly. If the skis aren’t parallel, the sled won’t pull correctly.
Mark the skis about four inches from the back. To make riser placement easier, mark the skis on the top and bottom. Next, mark off the placement of the front risers.
Positioning will vary depending on the length of your sled. Make sure to keep the front riser a minimum of twelve inches from the front end of the skis.
Step Five
Inside the marks indicating riser placement, pre-drill four evenly spaced holes from the bottom of the skis, making sure to counter sink the holes and to recess the screw heads. Place the risers, notch side down, in their marked position.
Align skis on the risers with the bottoms up. Check for correct placement before driving in four 3-inch long decking screws into each riser. Make sure screw tips are below the ski surface.
Pro tip – Fill the screw holes with hot wax to limit drag. Refill screw holes when you wax your skis.
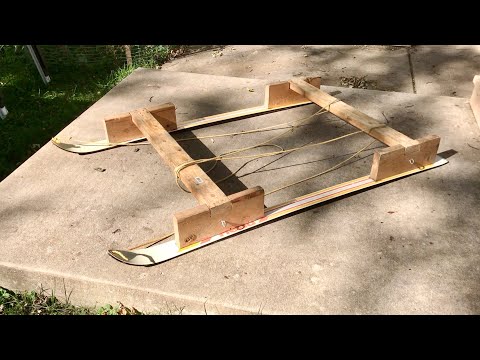
Step Six
Place the skis parallel on the floor and tap the sled supports into place. Check for proper alignment before diving in three 3-inch deck screws into each support. Place two screws about two inches apart and the third between these, but a half-inch behind them.
Step Seven
Put your sled on the cross members, placing equal spaces on each side of the sled and the back aligned with the back of the rear risers. Drill holes in your sled and the cross members near the outside edges of the sled. Insert one 3-inch stove bolt into each hole and fasten a wing nut on the bottom.
Step Eight
Screw the eye bolts into the front risers and thread the rope through the PVC pipe. Knot the cord on each side of the pipe to keep it centered. Securely tie the rope to the eye bolts. Your Smitty Sled is ready to hit the snow.