
You’re out enjoying a day on the ice when–snap!–your rod breaks.
Obviously, you’re not going to catch any fish with a broken rod, and you don’t have the time or opportunity to go buy a new one right now. Are there any ways to repair the broken rod so you can continue to use it?
Repair methods will probably take time away from your fishing excursion, as you will have to allow time for the repair itself as well as to let the glue or epoxy dry. But, once the repair is done, you can continue to use the rod until you are able to get it replaced by a new one.
Contents
How to Fix a Broken Rod?
The way you fix your rod will, of course, depend on which part of it is broken. For example, you’ll need to apply a different fix for a broken tip than you would for a snapped pole.
Even then, there are different methods you can use to fix the same type of issue. If your pole has snapped, you could use any number of materials to repair the break, including drill bits and pieces of other broken poles.
We’ll talk about how to apply all of these fixes in the following sections of this article. But before getting started, you may want to check out the following video for a great visual of many of the different processes.
1/ Use a Drill Bit

Using a drill bit inside your rod is a simple way to fix a broken pole, though it will make the repair site very rigid and inflexible. Still, it’s an easy fix that will only take a few minutes of your time, and the convenience of it might make it worth the added rigidity.
Materials Needed
- Handsaw
- Sandpaper
- Appropriately-sized drill bit
- Epoxy or super glue
Step 1: Cut and Sand the Ends of the Pole
If the pole has snapped in two, chances are, the ends are jagged or split at the ends. You’ll want to remove these jagged or split pieces so that the ends are smooth.
Cut off the sharp or uneven parts of each end of the pole with your handsaw. Then, sand the ends with sandpaper to make them smooth.
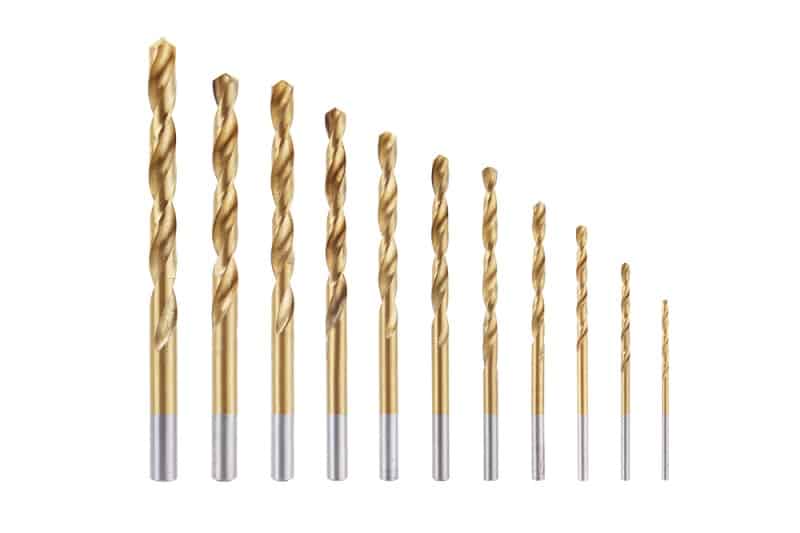
Step 2: Select the Proper Drill Bit Size
You may want to measure the ends of your pole to get the diameter, but this isn’t necessary. If you have a range of drill bit sizes, simply experiment to see which one fits best.
Insert the drill bit into one piece of the pole (which should be hollow inside). You want it to be large enough to fit snugly without sliding down inside the pole.
Check the other end of the pole to make sure it will fit over the other end of the drill bit. Again, it should be snug without being too loose, but make sure it isn’t so tight that it causes the pole to split again.
Step 3: Glue or Epoxy into Place
Cover the drill bit in superglue or epoxy, one end at a time. Slide the glued in back inside the pole. Bring the pole ends together and hold it in place to allow it to solidify.
2/ Use a Piece of Another Rod
Another common method to repair a broken pole is to use a piece of another broken rod. This method will produce a more flexible repair than the method described above.
Materials Needed
- Handsaw
- Sandpaper
- Measuring tape
- Broken rod
- Epoxy or super glue
Step 1: Cut and Sand the Rod Ends
As with the above method, you’ll need to remove the jagged, sharp, or split ends of the broken pole pieces. Use your handsaw to cut away these ends, then use sandpaper to sand it smooth.
Use the measuring tape to measure the diameter of each end of the pole.
Step 2: Cut A Piece of Another Rod
Take another broken rod and cut a 2- to 3-inch long piece. It will need to be thicker than the parts of the pole you’re repairing; the internal diameter of this piece should be roughly the same, if not a little larger, than the total diameter of the other pieces.
Sand the ends of this piece to make them smooth.
Step 3: Glue or Epoxy in Place
Once you’ve cut the appropriately-sized piece, glue or epoxy the inside of it. Stick each piece of the pole you’re repairing inside the repair piece, and hold it secure to allow the glue or epoxy to dry and set.
3/ Use a Fiberglass Dowel

If you have a fiberglass pole or dowel, you can use this to repair a broken rod in much the same way you can use a drill bit. The result is a repair that is more flexible and less rigid.
Materials Needed
- Handsaw
- Sandpaper
- Fiberglass dowel
- Measuring tape
- Epoxy or super glue
Step 1: Cut or Sand the Rod Ends
Again, prepare the broken rod ends as you would for the methods above–use a handsaw to cut off the broken ends, then sand them smooth with sandpaper.
You may want to measure the diameter of the hollow space inside the pole pieces, but this is not necessary if you have several fiberglass dowels of various sizes on hand.
Step 2: Cut a Piece of the Dowel
If desired, measure your dowels and choose one with a diameter just slightly less than the hollow space inside your fishing rod pieces. Cut a 6- to 12-inch section of the dowel.
Step 3: Glue or Epoxy into Place
Working with one end of the dowel at a time, cover it with glue or epoxy and slide it into one of the broken pole pieces. Allow it to set and harden. Repeat with the other end. Allow it to dry and harden completely before using it.
4/ Replacing a Broken Rod Guide
If your pole is fine, but you have a broken rod guide, you may have to deal with your line slipping out of the guide, which can cause tangling and other problems.
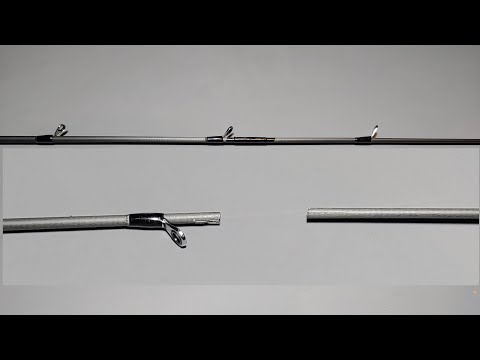
For a great visual on how to repair a broken rod guide, check out the below video:
![Rod Repair/How To Fix A Guide On The Fishing Rod [Wrapping And Epoxy]](https://fishontheice.com/wp-content/plugins/wp-youtube-lyte/lyteCache.php?origThumbUrl=https%3A%2F%2Fi.ytimg.com%2Fvi%2FqGl-UsVfCyU%2F0.jpg)
Materials Needed:
- Knife
- Masking tape
- Thread
- Microfilament
- New rod guide
- Glue or epoxy
Step 1: Remove the Broken Guide
The old broken guide will likely be taped and threaded into place on the pole. You can remove it by sliding your knife horizontally along the pole, cutting away the thread and tape. Once this is cut, the guide should slip off easily.
Step 2: Select an Appropriately-Sized Replacement
Depending on the size and style of the rod, you may have to do some searching to find the right size guide replacement. You may be able to take it off another broken rod, or you may just want to purchase a guide replacement kit .
Step 3: Wrap the Guide
Once you’ve selected the appropriate guide size, tape it in place with a piece of masking tape. Make sure it lines up right with the other guides.
Following the method shown in the video above, wrap the thread around the guide base until you have covered it. Make sure the thread is tight.
Using a loop of microfilament, wrap the thread a few more times, then put it through the loop. Pull the loop to draw the thread through itself, then cut it off.
Glue or epoxy the thread so it will stay in place.
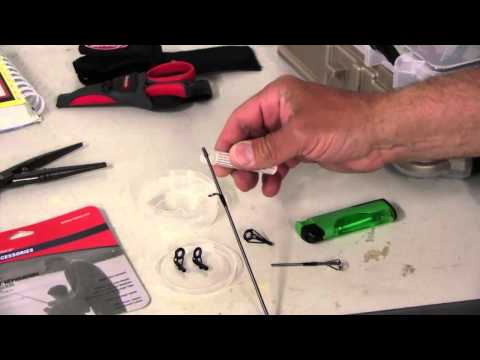
5/ Replacing a Broken Tip
If you have a broken tip, the method to replace it should be fairly simple. Check out the process in the following video:
Materials Needed
You could use a basic tip repair kit , or you could gather the following materials:
- Lighter
- Knife
- Rod cement
- Appropriately sized tip
Step 1: Remove the Old Tip
Hover the lighter over the old broken tip for several seconds. This will soften the rod cement inside, allowing you to remove the broken tip.
Step 2: Melt Rod Cement Inside the New Tip
Use your knife to slice a few small pieces of rod cement and place them around the end of your rod’s pull or inside the new tip.
Step 3: Slide the New Tip into Place
Place the new tip on the end of the rod pull. Again, use the lighter to soften the rod cement and allow it to mold into place inside the tip.
Allow it to cool and harden completely before using.
Conclusion
If your ice fishing rod is broken, there are several things you can do to fix it. Using the methods discussed in this article, you should be able to fix a broken rod pole with a drill bit, a fiberglass dowel, or a piece of another broken pole. You should also be able to replace a broken rod guide or a broken tip if necessary.