
You’ve probably heard the phrase, “You’re out of your depth.” Typically, it means you’re unqualified for something. When ice fishing, it literally means you’re fishing at the wrong depth. Setting a line five feet too high or low can mean missing feeding fish and going home empty-handed.
Depth finders and sonar are great aids for marking water depths and finding what depth the fish are hovering at. Understanding this info and knowing how to set your line to target a depth range is key to ice fishing success. No electronics? No problem. Sailors marked depths for centuries using sounding lines.
Contents
Why Knowing The Correct Depth Is Important?
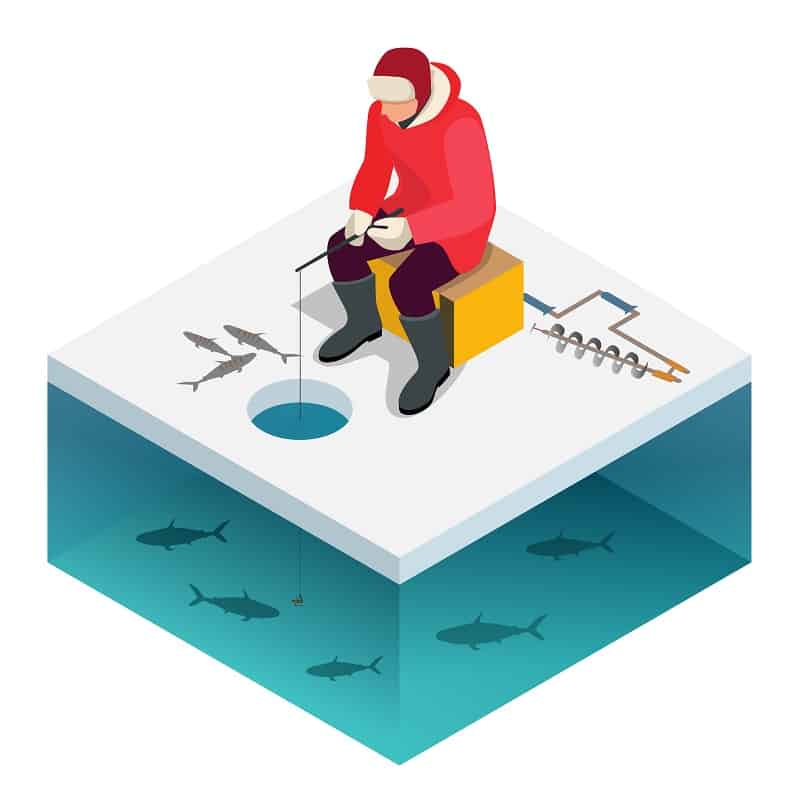

Fishing 101 tells us that fish prefer specific depth ranges. So knowing these preferred depths tells you where to place your line. Under-ice changes in light and oxygen levels, along with altered water temperatures, change a fish’s preferred depth. To make matters worse, these preferred depth ranges change throughout the season.
Under early ice, deeper light penetration allows some aquatic vegetation to survive, keeping oxygen levels higher. In addition, water temperatures haven’t flip-flopped yet, so fish remain at depths approximate to their open water ranges.
As the ice thickens, light penetration declines and aquatic plants die back. The result is less available oxygen. At a certain point, water temperatures invert, and the warmer water is now at the bottom. As a result, fish move to deeper water.
Later in the season, ice begins to thin, light penetration increases, and plants start growing again, increasing available oxygen. Lastly and most importantly, the spawning season for many species draws near.
Because spawning is getting closer, fish begin to move back into shallower waters. Some fish like salmon and trout head back upriver to spawn, and others gather around the mouths of tributaries. One favorite target species, walleye, like to gather around shallow gravel beds for spawning.
This illustrates why knowing your target species’ habits and preferred depths is essential. For more on this, check out our post, How Far Off the Bottom Do You Ice Fish?
Method One: How To Find The Water’s Depth Without Electronics
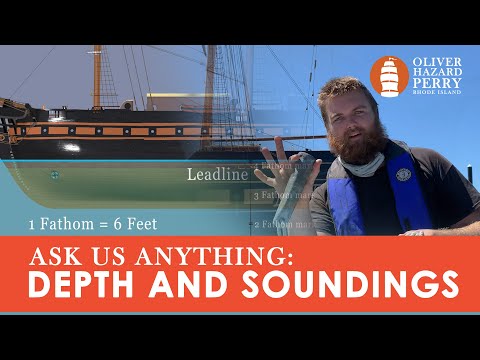
For centuries, to avoid running aground, sailors took soundings when they felt they were coming close to land. They didn’t have sonar yet so they used a rope knotted every six feet. An anchor at the end of the rope took it to the bottom, and this was how they marked their depth.
You can use the sounding method when ice fishing on many inland lakes. Because you won’t have sonar to show you what level the fish are at, you need to familiarize yourself with the preferred depth ranges of your target species.
Materials You’ll Need
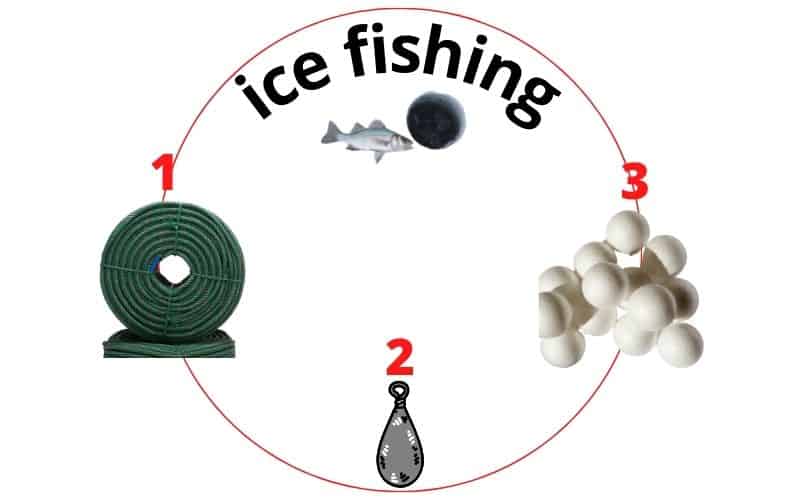

To make a sounding line, you will need a length of heavy polyethylene cord; its resistance to rot makes it a perfect choice. The second item is a 3-4 ounce sinker. The third and final item is a float. A styrofoam float about four to five inches in diameter works nicely. You want it to float the sounding line if you lose it in water.
Step one – select a heavyweight polyethylene cord and cut off a cord length longer than the deepest lake you fish on.
Step two – securely tie the weight or sinker to the bottom of the cord.
Step three – beginning at the bottom, measure off one-foot segments with a ruler and knot the cord every 12-inches. Repeat this process until you have about three feet of rope left at the top.
Step four – Securely tie on your styrofoam float at the top of the rope. The float is in case you drop the sounding cord in the hole. Be sure the float is big enough to float the sinker if the sounding line falls in the hole.
How To Use The Sounding Line?
First, assuming your ice hole is drilled, get a firm grip on your sounding line just below the float and drop the weighted end into the hole. When the line goes slack you’ve found the bottom.
Second, lift the line to remove the slack, begin counting knots with the one closest to the water. Once you’ve reached the weight, you know the depth around your ice hole.
Third, determine how far from the bottom you want to suspend or jig your baits. For example, if you’re in twenty feet of water and you want to fish two feet off the bottom, you’ll want to measure off 18-feet of line.
For an easy way to make the measuring line, some guys will use a braided line and mark it every 12 inches with a contrasting color. Power Pro Depth-Hunter line is a braided line that has a two-inch mark every five feet to give a fair idea of the depth of your line. The best option may be to use the KastKing ultra-light ice fishing spinning reel with Berkley’s snap-on line counter .
There is a down-side to marking depths without sonar, you need to drill a hole just to measure water depth without knowing if fish are nearby.
Sonar can shoot through the ice, reading depths and marking fish, helping you avoid drilling unproductive holes. In an era like ours when sonar fish finders like the Lowrance Hook 2 Fish Finder are so readily available and reasonably priced, why not take the leap to sonar?
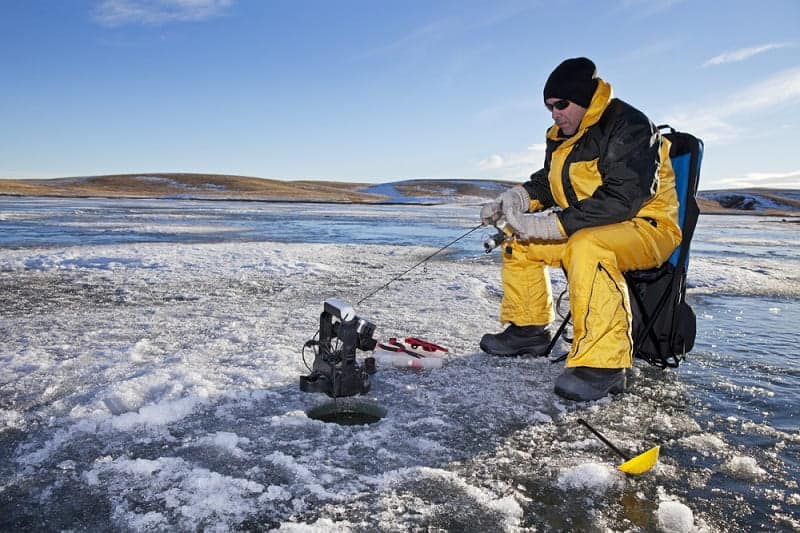
Method Two: Finding Depths And Marking Fish With A Sonar Fish Finder
For the ice angler, sonar is the silver bullet to marking depths and locating fish. With the arrival of affordable, accurate, and easy to use sonar like the Garmin Striker 4 ice fishing bundle , anglers can spend more time fishing than drilling holes or locating fish.

What You’ll Need
You will need a good quality sonar fish finder. Lowrance, Garmin, and Humminbird all make reasonably priced, quality units that adapt well to ice fishing. Most units are dual beam these days, but it’s still wise to make sure the unit you use has down imaging sonar to shoot through the ice. With a side-imaging-only sonar, you will still need to drill a hole.
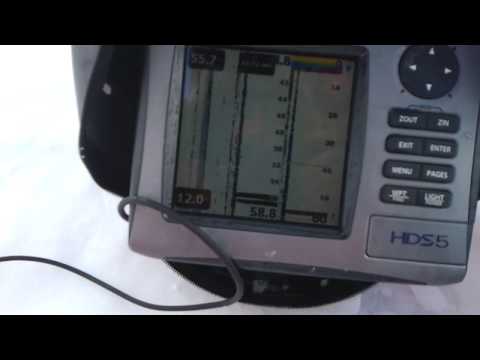
Finding Depths And Fish Scanning Through The Ice
httpv://www.youtube.com/watch?v=g–Gp-MLlKY
Every brand and model of sonar has variations in their displays. It’s best to familiarize yourself with yours before you get on the ice. Like many men, I don’t like to read user manuals, but your sonar’s manual has a lot of important information. Do yourself a favor and take the time to read it before hitting the ice.
Step one – Clear a patch in the snow. You want clean ice free of debris and air bubbles.
Step two – Add enough water to the hole to cover the head of your transducer.
Step three – Press the transducer head firmly against the ice and scan. The scan will return depth readings that show any fish in the sonar cone as worms since you’re stationary. You should also get an image of the bottom. If you’ve marked any fish, make a note of their depths and drill your hole.