
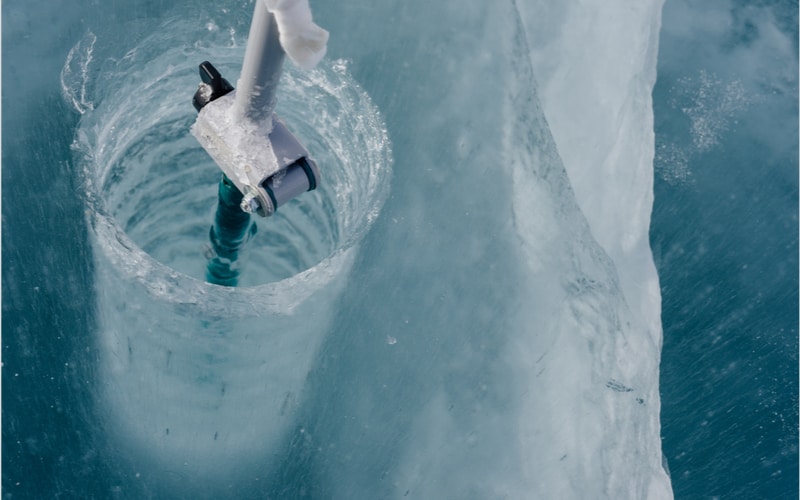
One of the best ways to catch more fish through the ice is to drill a lot of fishing holes. At each new hole, you jig for a few minutes, maybe using a sonar or underwater camera to survey the scene, and hope to find fish. If not, move on and drill new holes until you locate the schools of fish you are targeting.
If you’re fishing like this, you definitely want some sharp auger blades. A sharp edge on those blades will cut holes faster.
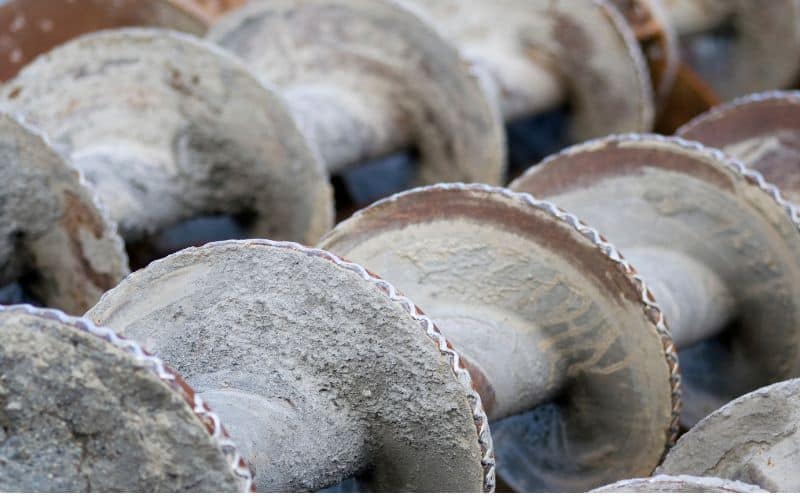
Even if you don’t hole hop like this, auger blades can dull from ordinary use, hitting mud or rocks in shallow water, or being jostled around during transport.
Eventually, every fisherman will need to sharpen his auger blades. This guide will show you the best ways to sharpen up those old blades at home for a fraction of the price of a professional sharpening service.
Contents
- Can I Sharpen Ice Auger Blades?
- Do I Need to Sharpen Ice Auger Blades?
- How Do You Sharpen an Auger Blade at Home?
- How to Sharpen Ice Auger Blades With a Whetstone
- Can You Sharpen Ice Auger Blades With Sandpaper?
- Can You Sharpen Ice Auger Blades With a Grinder?
- Can You Sharpen Ice Auger Blades With a Dremel?
Can I Sharpen Ice Auger Blades?

With a few tools, you can sharpen your own ice auger blades at home. It’s not too difficult, and it’s cheaper than paying a hardware store or bladesmith to sharpen them.
When working with blades, you need to be safe. I recommend removing the blades from the auger before attempting to sharpen them. Not only is it safer, but it’s the only way to get a consistent edge on them.
When you remove the blades, disconnect the spark plug or otherwise disable the auger so it cannot suddenly start while you are working.
I strongly prefer a good whetstone over any motorized grinder. It’s so much easier to control the angle of sharpening for a consistent edge. It’s also very difficult to “overdo it” when you are using a manual whetstone, compared to a grinder which can quickly eat away at your blade.
Do I Need to Sharpen Ice Auger Blades?


You’ve probably heard the saying that a dull knife is more dangerous than a sharp one.
Well, it turns out that’s true for all types of blades, including ice auger blades.
In fact, it’s extremely important to keep your auger’s blades nice and sharp because ice is hard and slippery, making it more likely for your blades to skip on the surface, which could cause them to hit your foot.
It’s safer to have a sharp edge that will bite into the hardened water with no problem. Sharp blades require less effort. If you find yourself leaning on top of your auger to help the blades get started, you are at a greater risk of slipping from this unbalanced position.
Safety isn’t the only reason to keep your auger in tip-top shape. A good edge will also cut holes much faster than a dull edge, so investing some time in sharpening your blades will save you a lot of time fishing.
How Do You Sharpen an Auger Blade at Home?

You can sharpen an ice auger blade at home with sandpaper, but the preferred method is to use a set of whetstones for sharpening. Before attempting to sharpen your auger blades, always uninstall them from the auger.
To uninstall the blades, first turn off the auger and disconnect the battery or spark plug. Wearing gloves is a good idea, too.
Use a screwdriver or allen key to remove the screws holding the blade in place. Pay attention to the blades’ orientation because it can be hard to remember the right way to put them on again when you are done.
Sharpen the blades using one of the methods below.
Replace the blades and reconnect your power source.
How to Sharpen Ice Auger Blades With a Whetstone
Whetstone sharpening can be intimidating, but it is actually a pretty easy way to sharpen your blades.
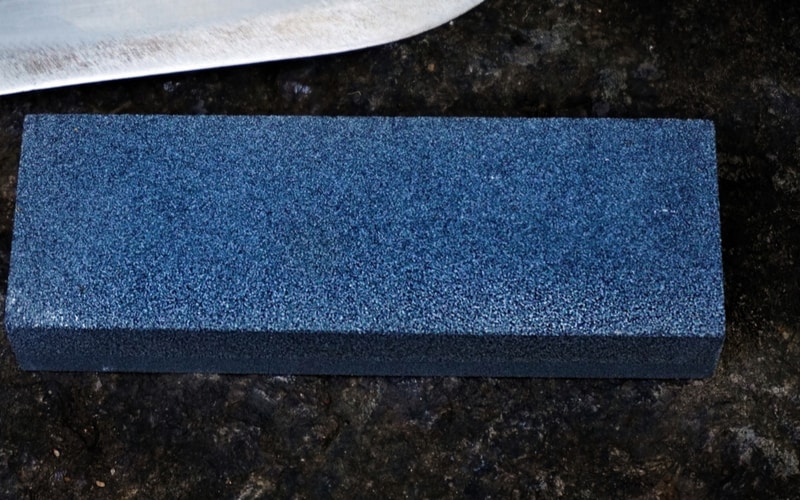
Using a whetstone does not have to be expensive – you really only need 3 stones to do a great job: a coarse stone around 200 grit , a fine stone of 1000 grit , and something in between.

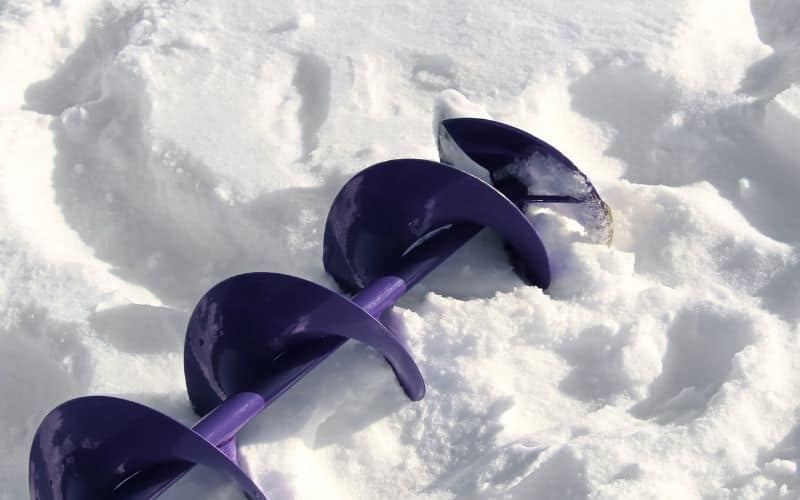
If you take a close look at an auger blade, you will see a large section of gradual bevel (primary bevel) and two very small bevels on the very cutting edge (one is the secondary bevel, which is on the same side as the primary bevel, and the other is called the back bevel).
Most of your sharpening efforts will go to the large primary bevel, but don’t skip working on the other two. The combination of three bevels works together to create a strong, durable edge.
1. Sharpen the Primary Bevel
Before you start sharpening, you can use a permanent marker to color the entire surface of the primary bevel. As you sharpen, you can use this to make sure you are hitting all of the primary bevel’s area. This helps a lot your first time as you develop good technique.

First use your coarse grit stone. Wet it with oil or water according to its directions. Then face the primary bevel of your blade down and drag it across the stone, using very light pressure.
Continue until you wear away all of the permanent marker, or until you have evenly sharpened the whole primary bevel.
Now repeat this process with your medium (400 grit) and, finally, your fine (1000 grit) stones. It’s not necessary to use the marker on the finer grit rounds, just concentrate on sharpening evenly.
2. Sharpen the Secondary Bevel
When your primary bevel is refined, most of your work is done. Take a few more minutes to finish the job and create a strong, sharp edge by sharpening the secondary and back bevels.
Do not use a coarse stone on the smaller bevels. Go right to your finest (1000 grit) whetstone and find the angle of the secondary bevel. Make about 20-25 even passes to sharpen this tiny bevel. Remember to use very slight pressure.

This bevel should just be visible and shiny when you are done.
3. Sharpen the Back Bevel
The last step is to sharpen the tiny back bevel of your blade. This is just like step 2: use your finest stone, apply very little pressure, and make about 20 refining passes on the back bevel.
Can You Sharpen Ice Auger Blades With Sandpaper?

If you don’t want to invest in a whetstone set or you don’t have the time, you can use just a few dollars worth of sandpaper to accomplish a similar result.
Like with the whetstones, you should have both coarse and fine grit paper for the primary bevel.
The key to doing this safely and effectively is to tape the sandpaper to something perfectly smooth and rigid. If you have a floor tile, that works great. You can also use a piece of glass or even a table top or work bench.
Tape all of the edges of the sandpaper to your flat surface so that it will not slip. Once this is done, follow the steps above as if you were sharpening with whetstones. It may require more passes to get the same result, but remember to use only light pressure.
Can You Sharpen Ice Auger Blades With a Grinder?

I don’t recommend sharpening your ice augers with a grinder. They spin too fast and will tear away too much metal material too quickly.
The only exception is if your blades are seriously damaged and need an entirely new bevel. You will need to use one of the methods above after you establish a new bevel with the grinder.
If you do go this route, don’t skip safety gear like glasses and heavy gloves; auger blades are small and will heat up quickly from a grinder’s friction.
Can You Sharpen Ice Auger Blades With a Dremel?
A Dremel tool is like a small version of a grinder. They can also take away material too quickly and damage the fine bevel system of your auger blades. I do not recommend a Dremel for blade sharpening.
It’s best to use whetstones or even sandpaper so you can draw the blade evenly across a flat sharpening surface and create a consistent edge.